Wireless communication
Introduction
I share a small apartment with my partner, and when we're both working from home it can be difficult to tell when we're working on something that can be interrupted, and when we really need to focus. What we really need is a sign to tell us when the other person should not be interrupted—a type of red-light/green-light system. For this week's assignment on networking, I made such a sign, with wireless control of red/green signaling so the sign can be placed away from the person working.
Display
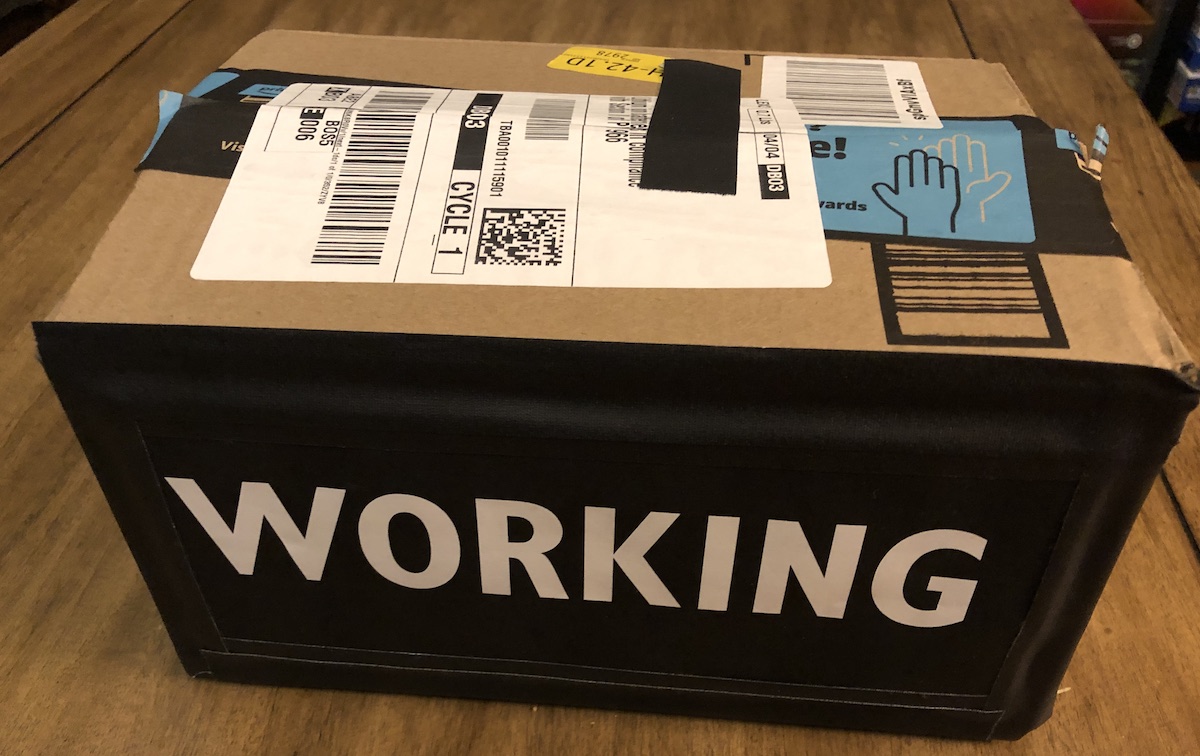
I made the sign display using cardboard shipping boxes and laser-printed stencils (there's a pandemic going on). I patterned light by making a cardboard stencil that would only allow light through where the word WORKING is visible.
I drew the stencil in Inkscape (svg). The stencil was taped to a cardboard box flap and cut out, then attached to a hole cut in another box with black gaffer tape. Another copy of the stencil was placed on the outside to act as a diffuser.

Transmit
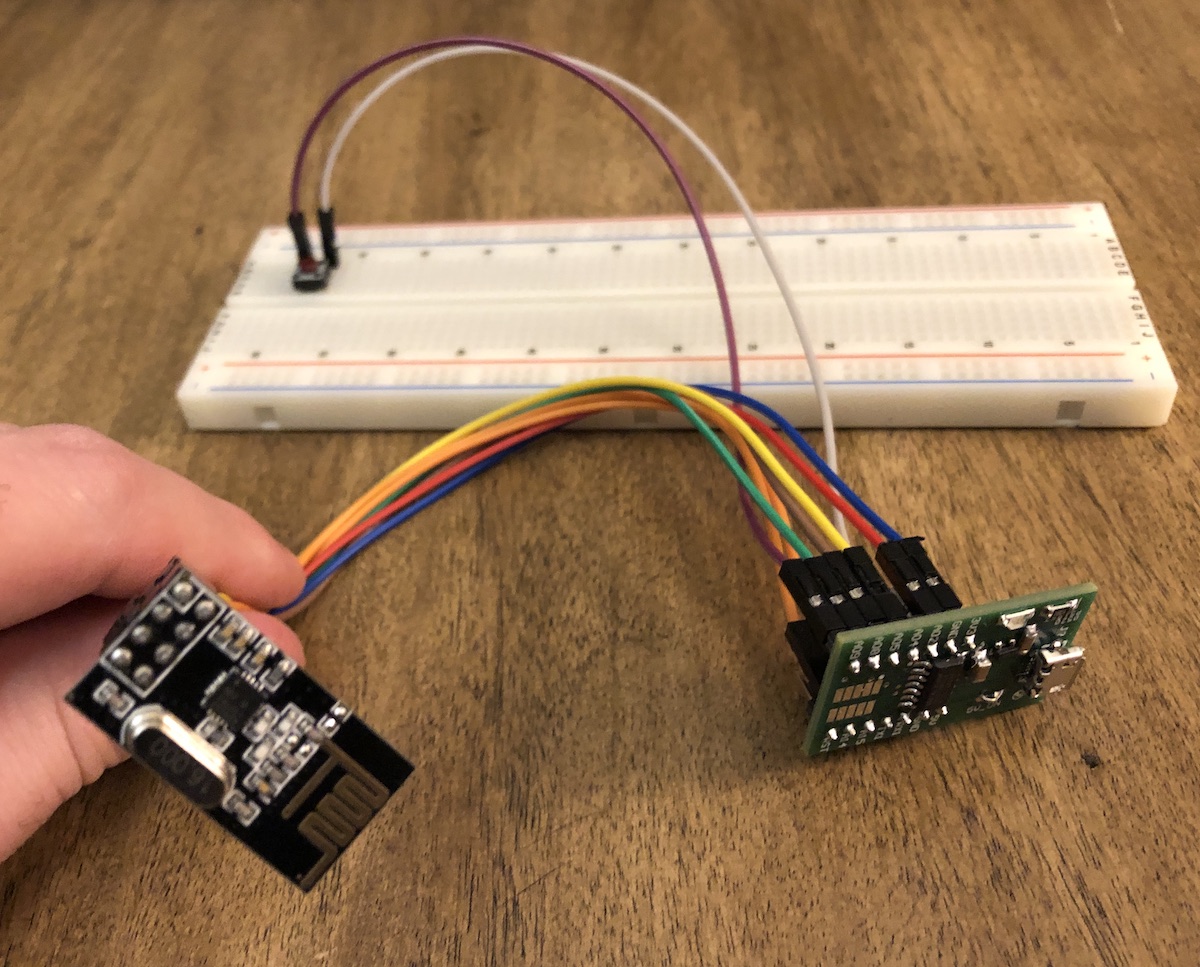
For the transmit side, I connected an nRF24L01 radio module to an ATSAMD11 board provided by the lab,
with a push button connected between ground and pin 9, which was set as an INPUT_PULLUP, and attached to an interrupt routine that transmits a bit to indicate toggling state in response to pushing the button.
I connected the nRF24L01 radio as detailed on Rob's page on the nRF24L01.
| Pin on radio | D11 board |
|---|---|
| 1 GND | GND |
| 2 VCC | 3V3 |
| 3 CE | pin 8 |
| 4 CS or SS | pin 15 (=SS) |
| 5 SCK | pin 5 |
| 6 MOSI | pin 4 |
| 7 MISO | pin 14 |
Receive
For the receive size (in the sign), I connected the nRF24L01 radio to the Adafruit ItsyBitsy M4 (ATSAMD51) as detailed on Rob's page on the nRF24L01.
| Pin on radio | ItsyBitsy D51 board |
|---|---|
| 1 GND | GND |
| 2 VCC | 3V3 |
| 3 CE | pin 7 |
| 4 CS or SS | pin 9 |
| 5 SCK | SCK |
| 6 MOSI | MO (=MOSI) |
| 7 MISO | MI (=MISO) |
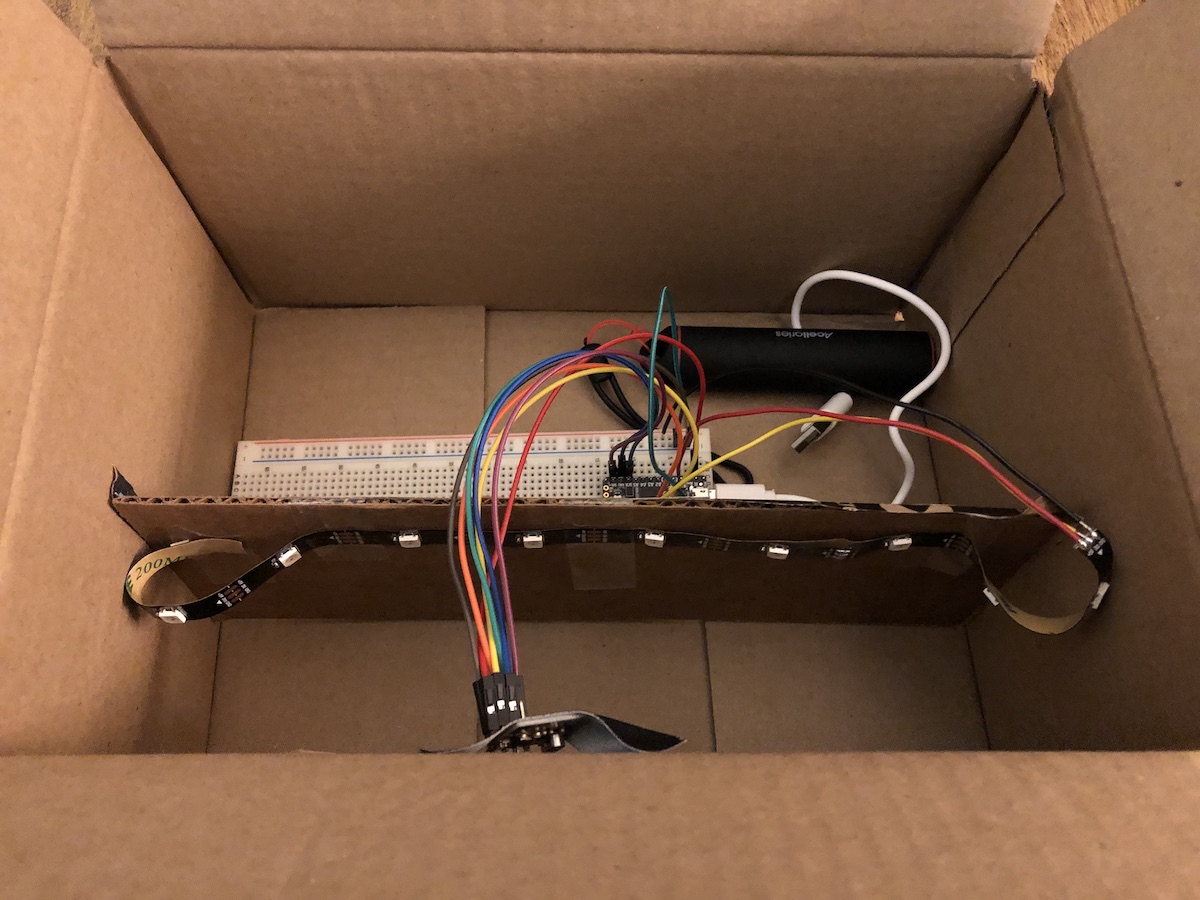
I connected the 5V and GND contacts of the LED strip to the ItsyBitsy power rails, and connected DIN (digital in) of the LED strip to pin 5 of the ItsyBitsy, which operates at 5V unlike the the other pins of the ItsyBitsy which are at 3.3V.
This was all placed in the display box.

I found I had to change the channel used by the nRF24L01 to avoid interference on the 2.4GHz band.